Emerald Lakeside is out now!
New level! I spent so long making this one, so I have a lot to talk about. I figured I could shove all of it into one forum post for those who wanted to learn more, so I hope you enjoy all the little facts about the development and history of this level!
Origin and Inspiration
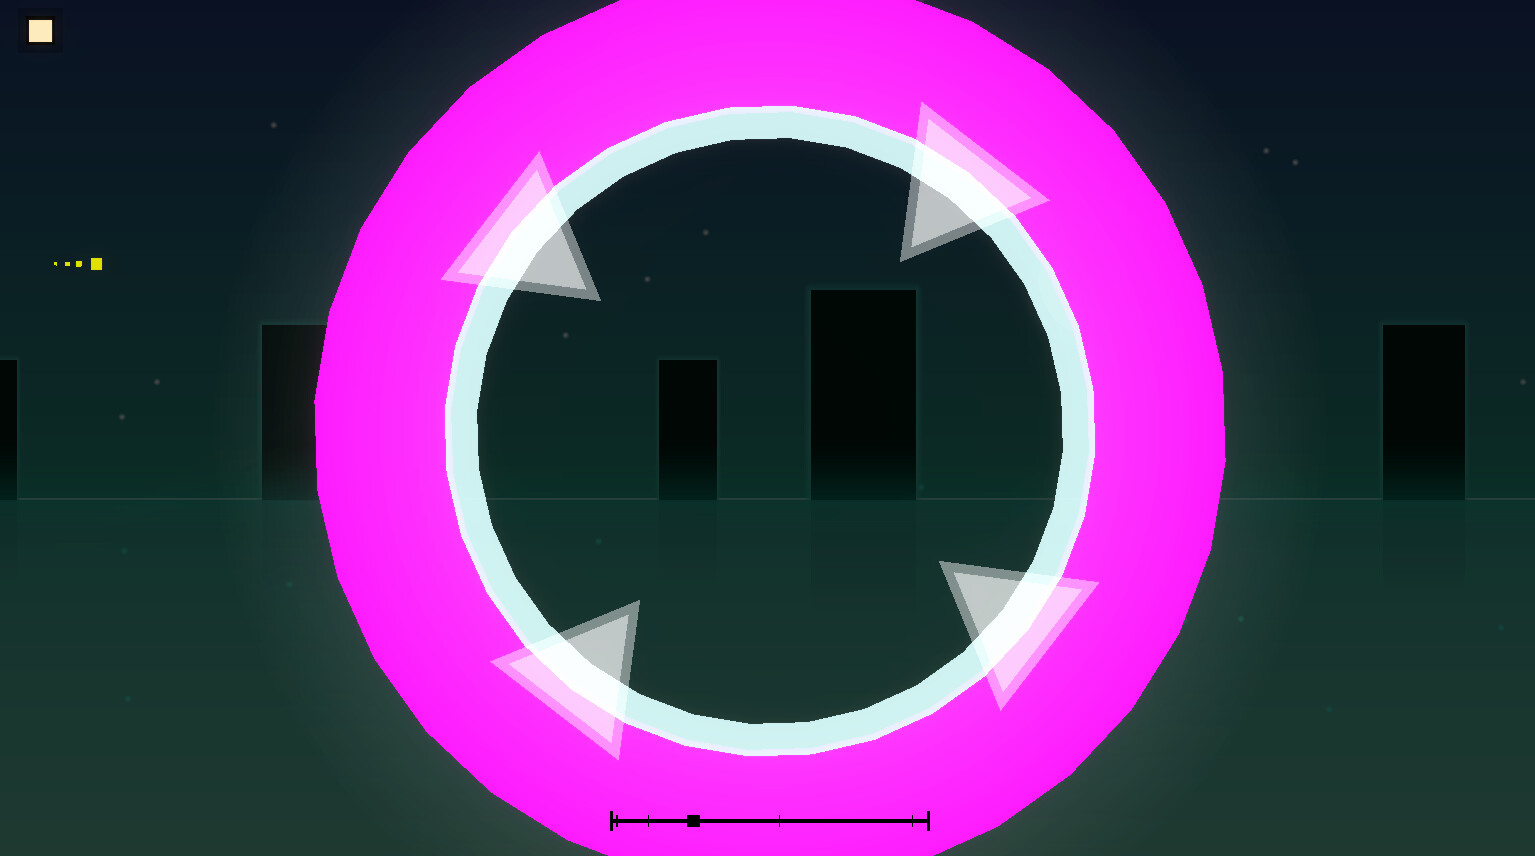
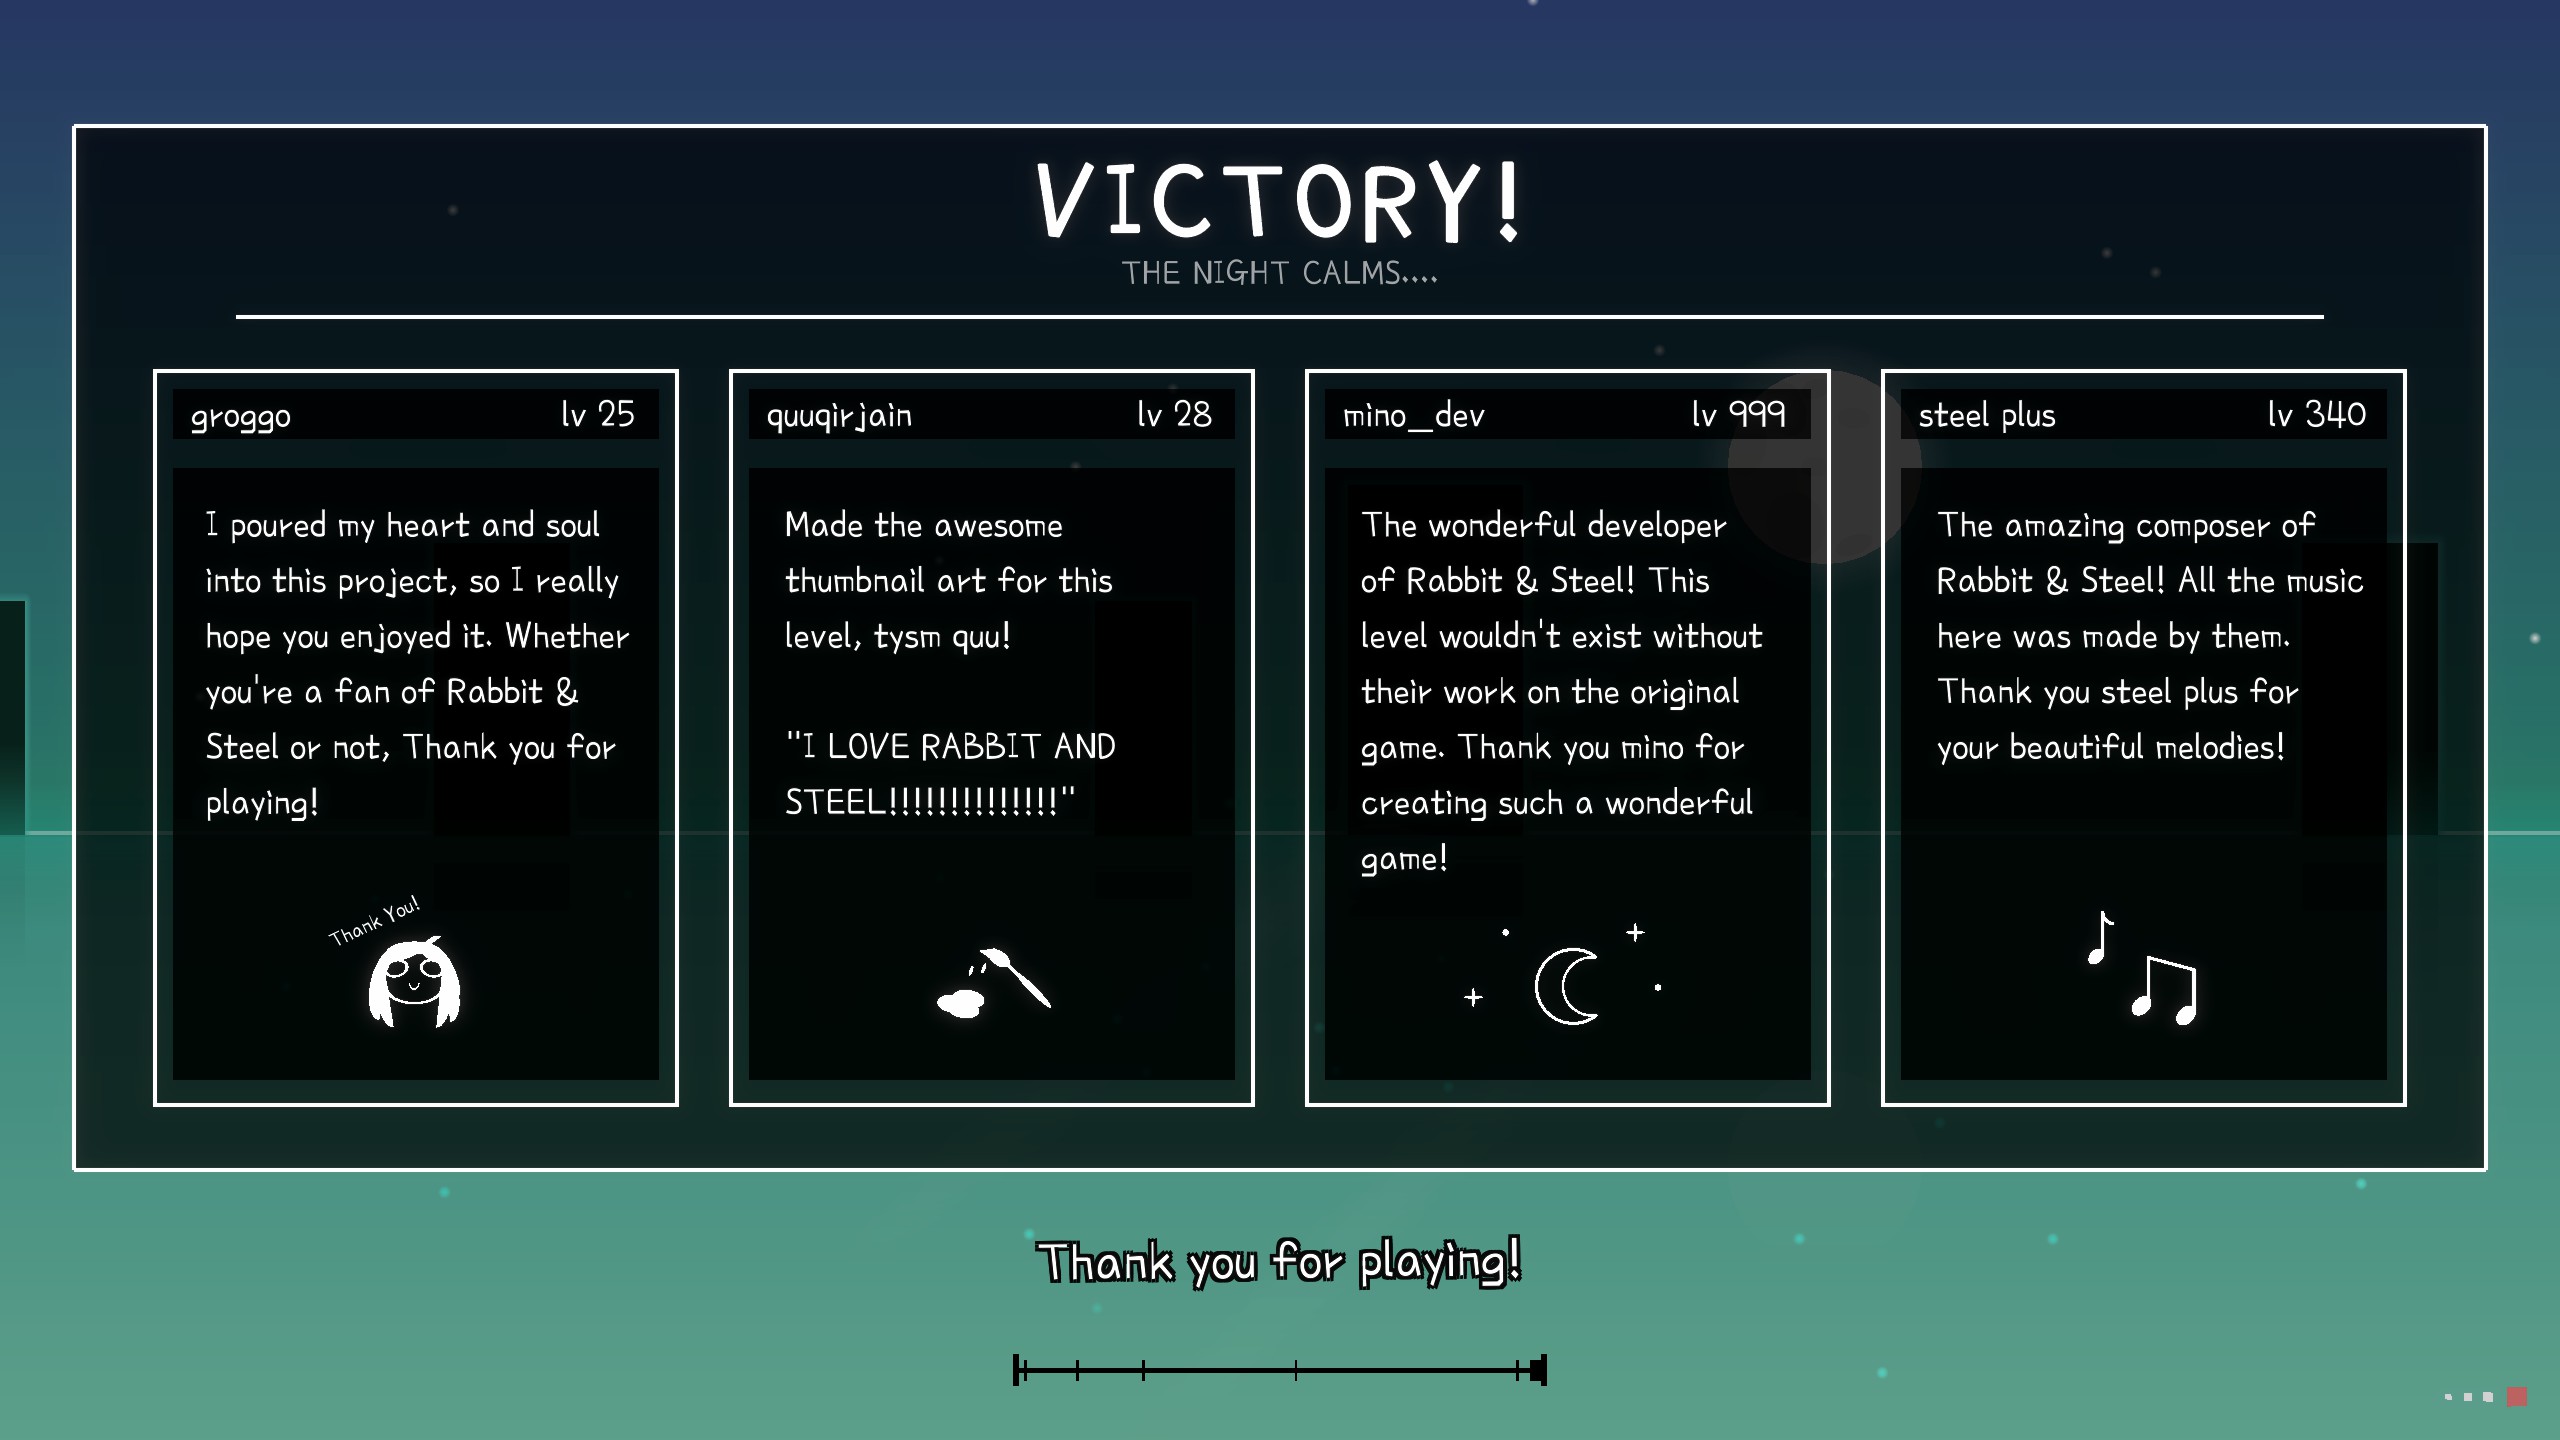
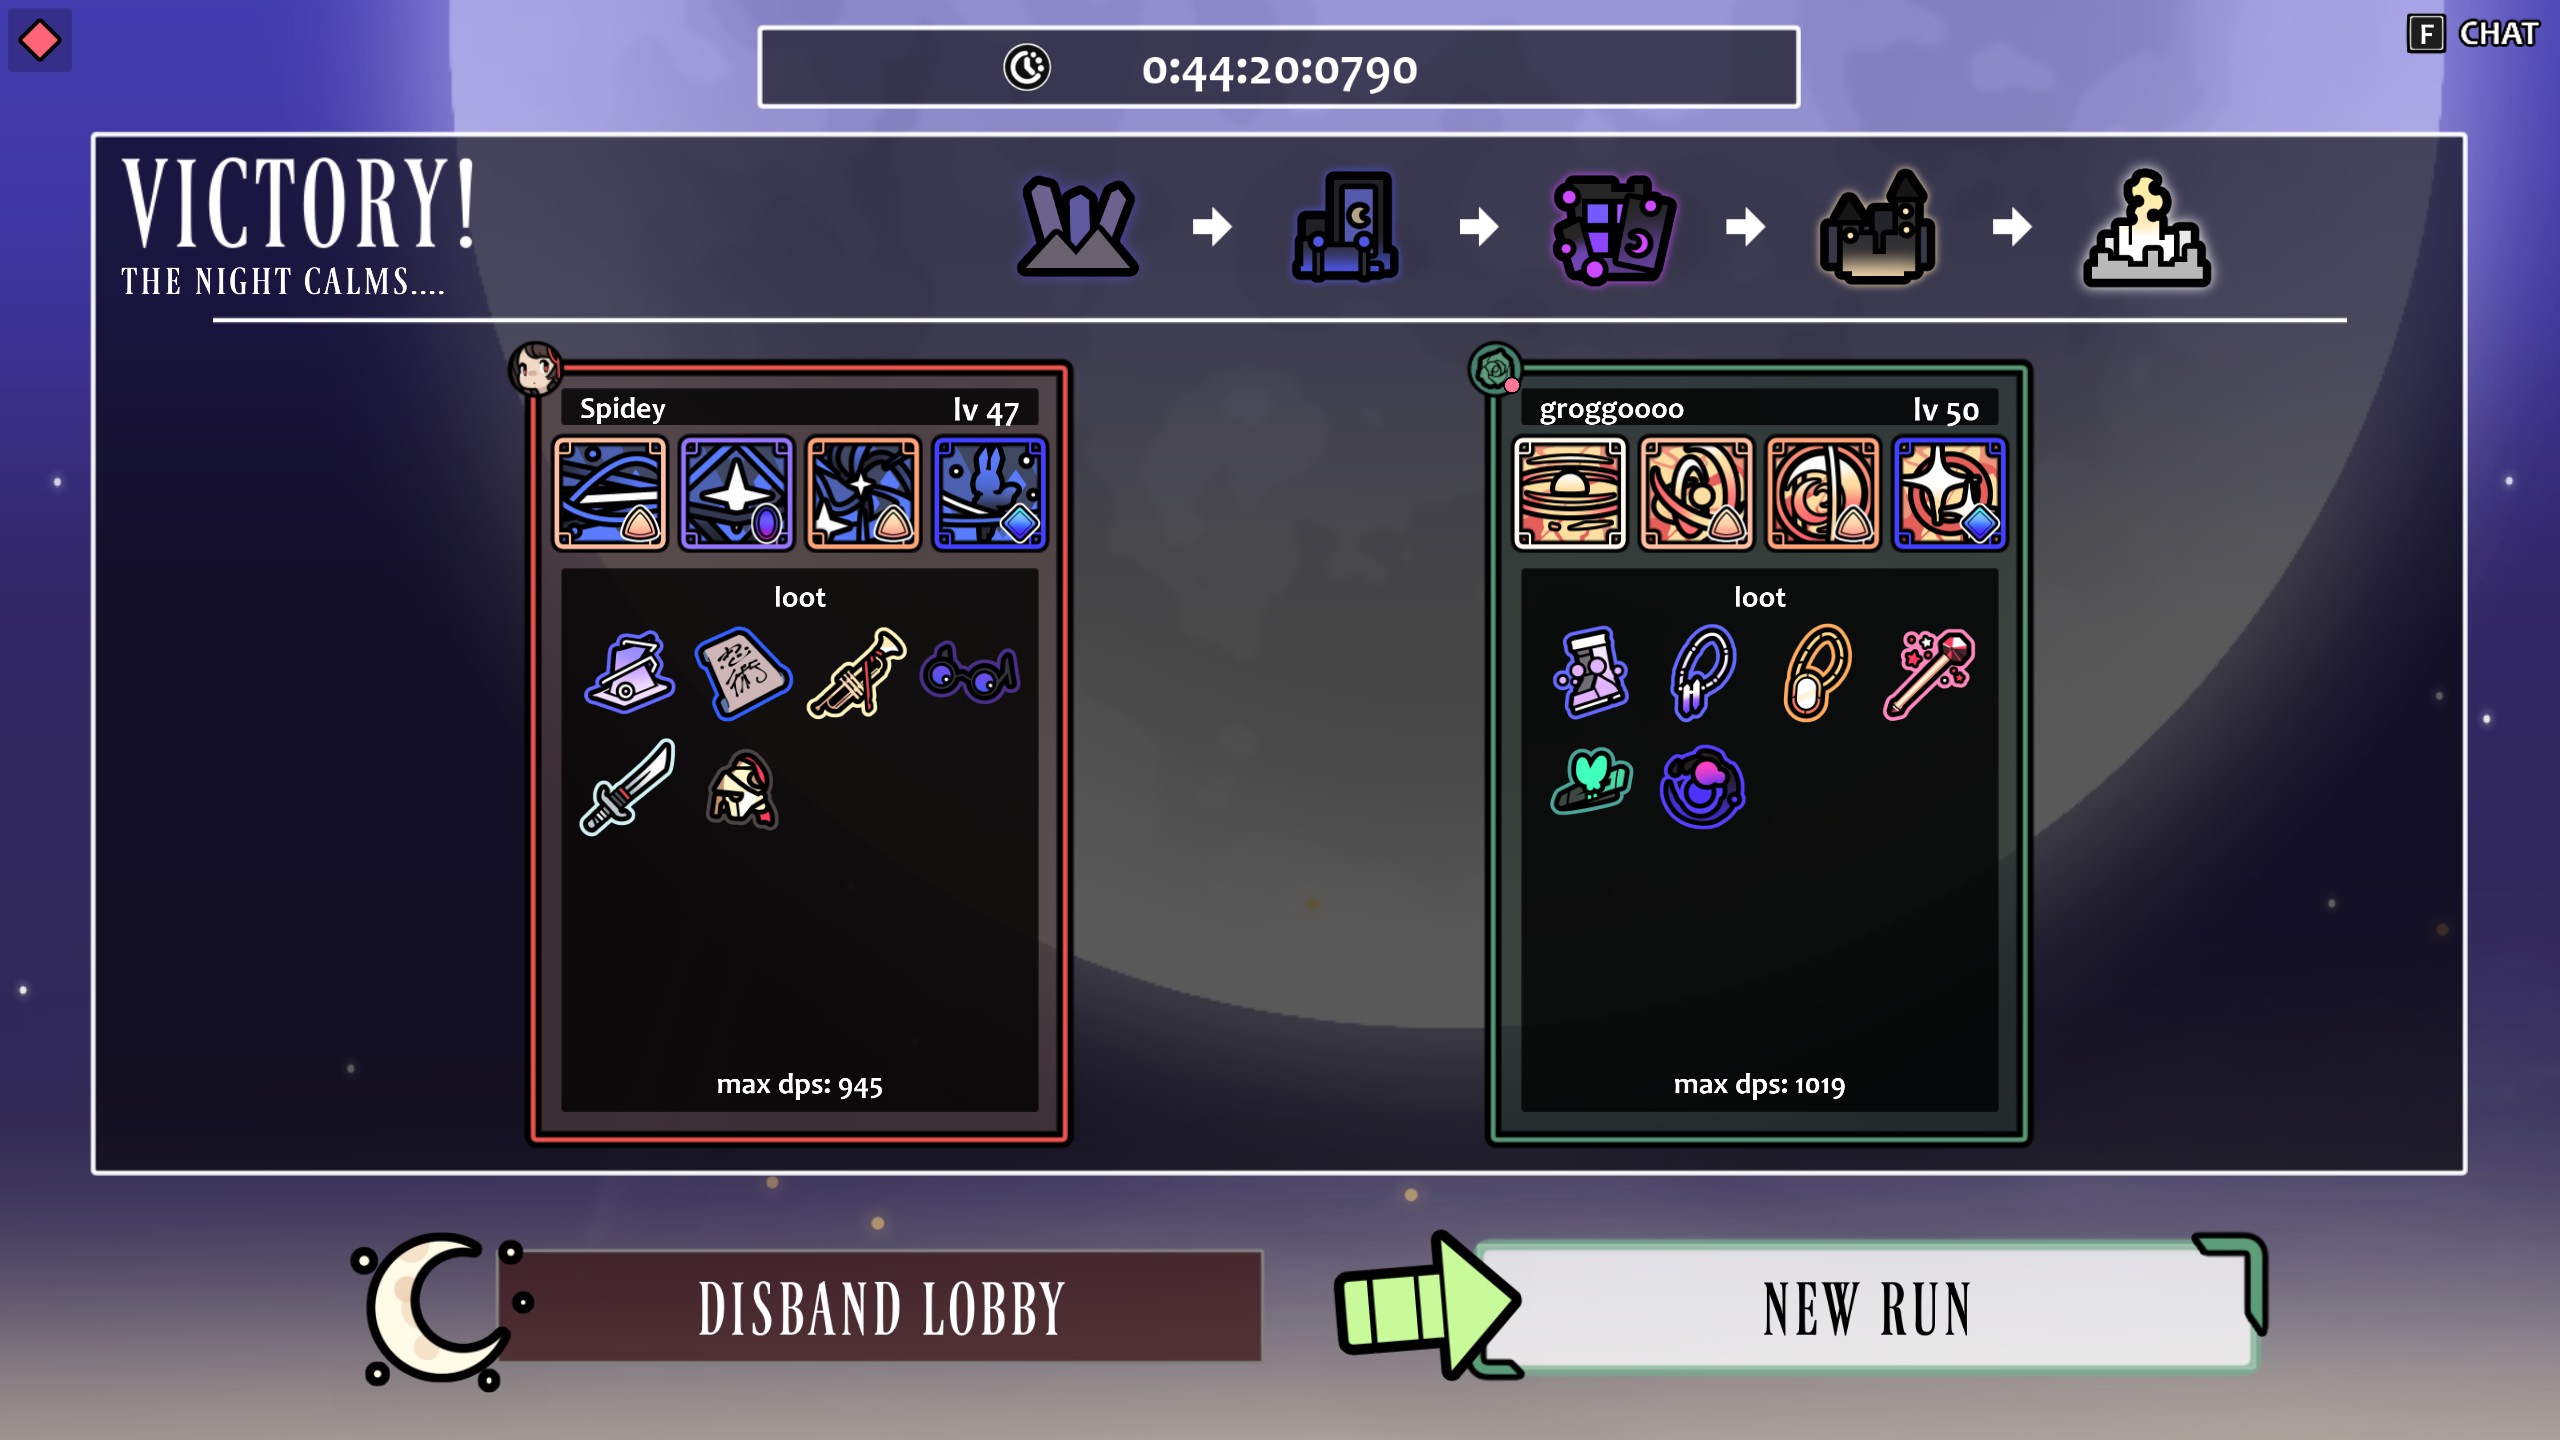
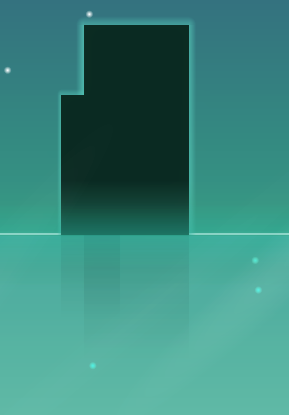
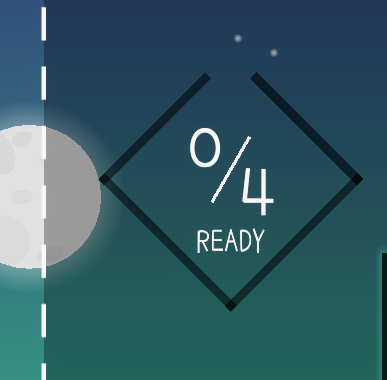
This level began thanks to a little game called Rabbit & Steel. You might have no idea what that is, so here’s a few screenshots for comparison:
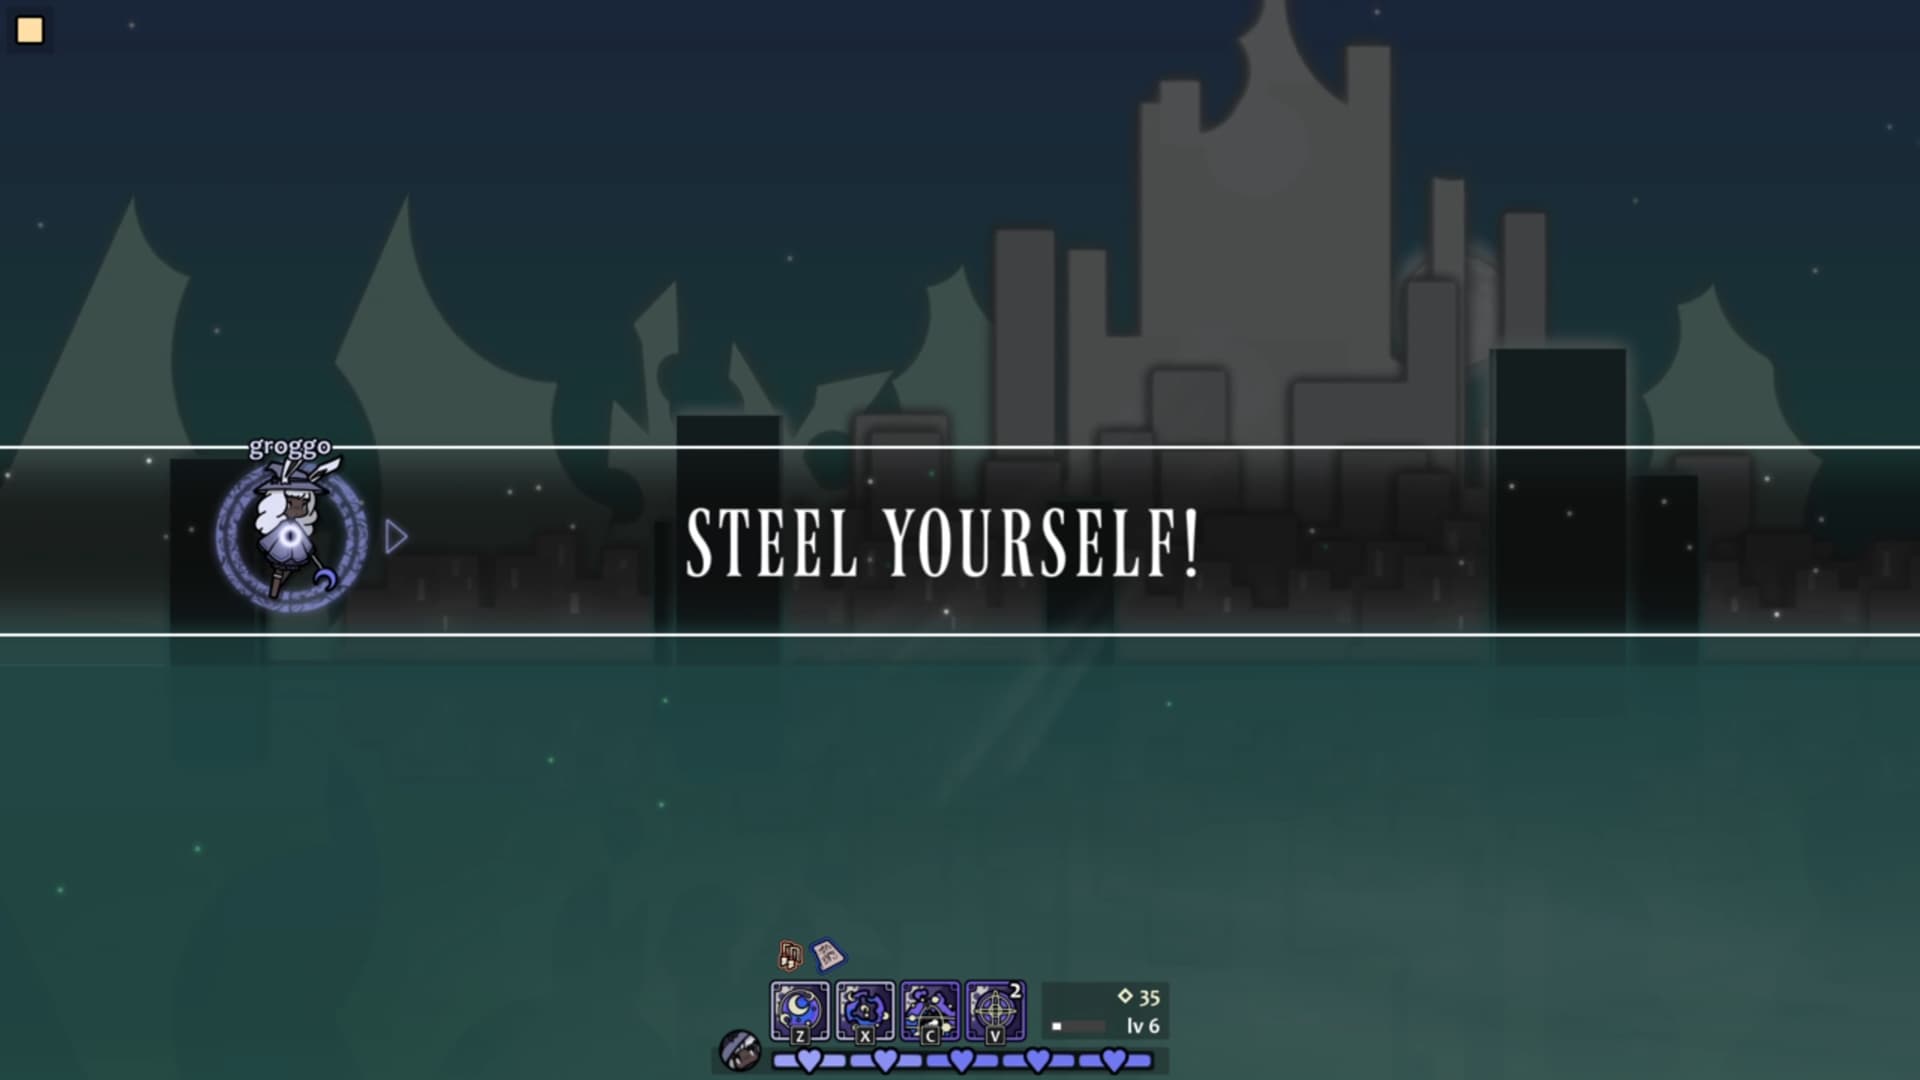
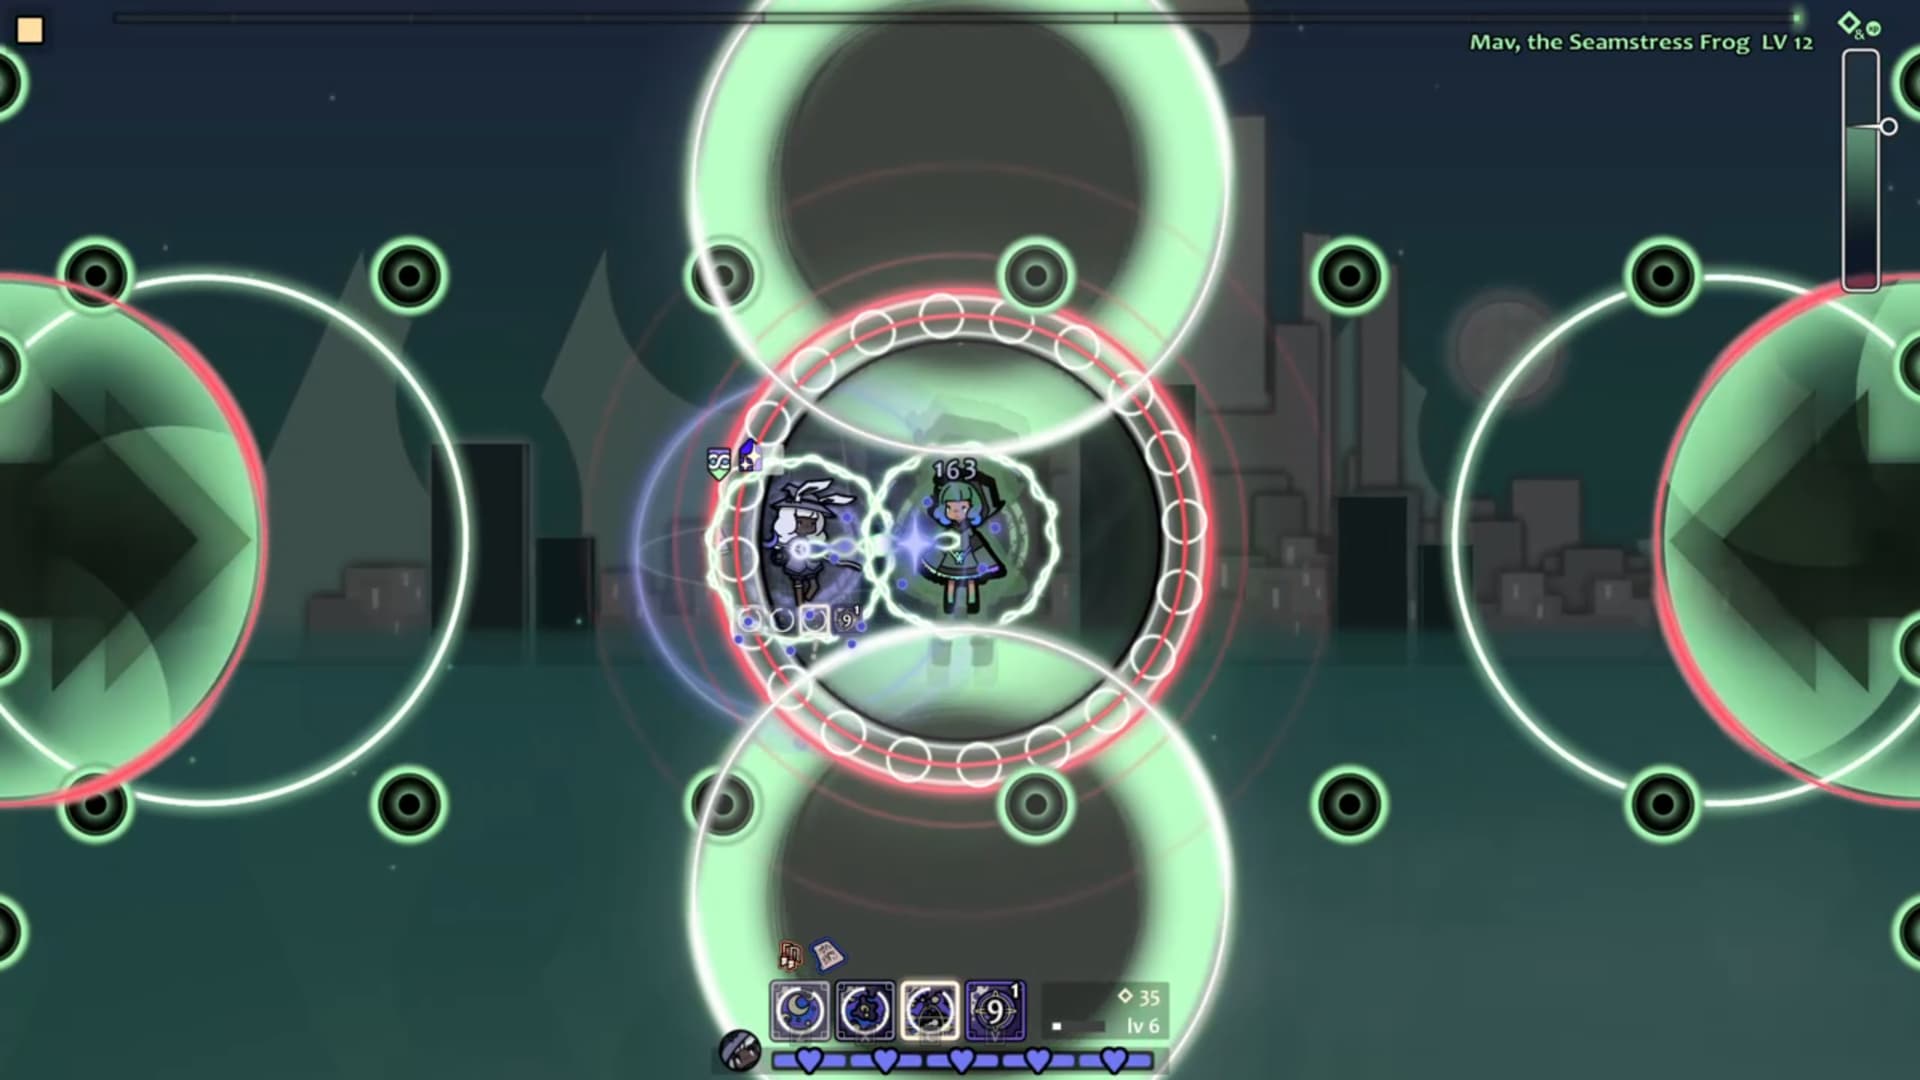
Rabbit & Steel is kinda like a co-op bullet hell, except there are unique gimmicks that are constantly thrown at the player, forcing them to adapt to these new rules while still dodging all of the enemy’s attacks. These gimmicks can require players to do things like stop moving, spread out, or get in circles. There’s a ton of these effects that I thought would be really fun to translate into PA, so I did the best with what I had!
However, shortly after I started, I actually began making the Buried Capital Aqueduct level! So technically, Emerald Lakeside is older, even though it’s releasing much later. These 2 levels are really closely connected in my mind because they both began as tributes to mino_dev’s games. If it wasn’t apparent from the song choice alone, The Buried Capital Aqueduct is also a tribute to mino_dev’s other game, Maiden & Spell! Many of the bullet patterns were inspired directly from the attacks you have to face in that game (although definitely not as closely recreated as Emerald Lakeside is aiming for).
Alright, enough of the history lesson, let’s talk about the actual level now…
Creation Process and Insights
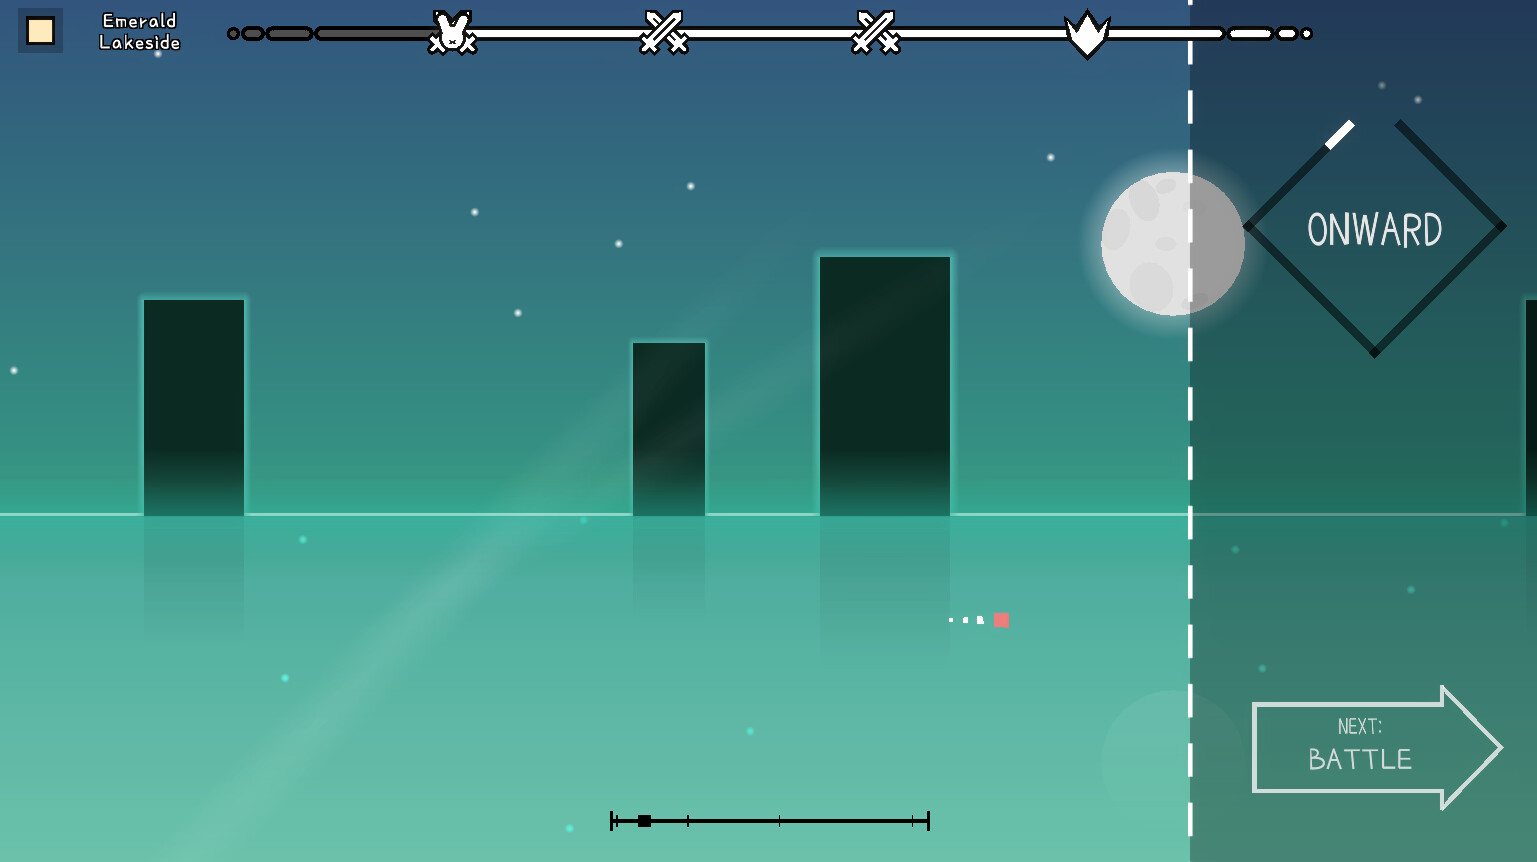
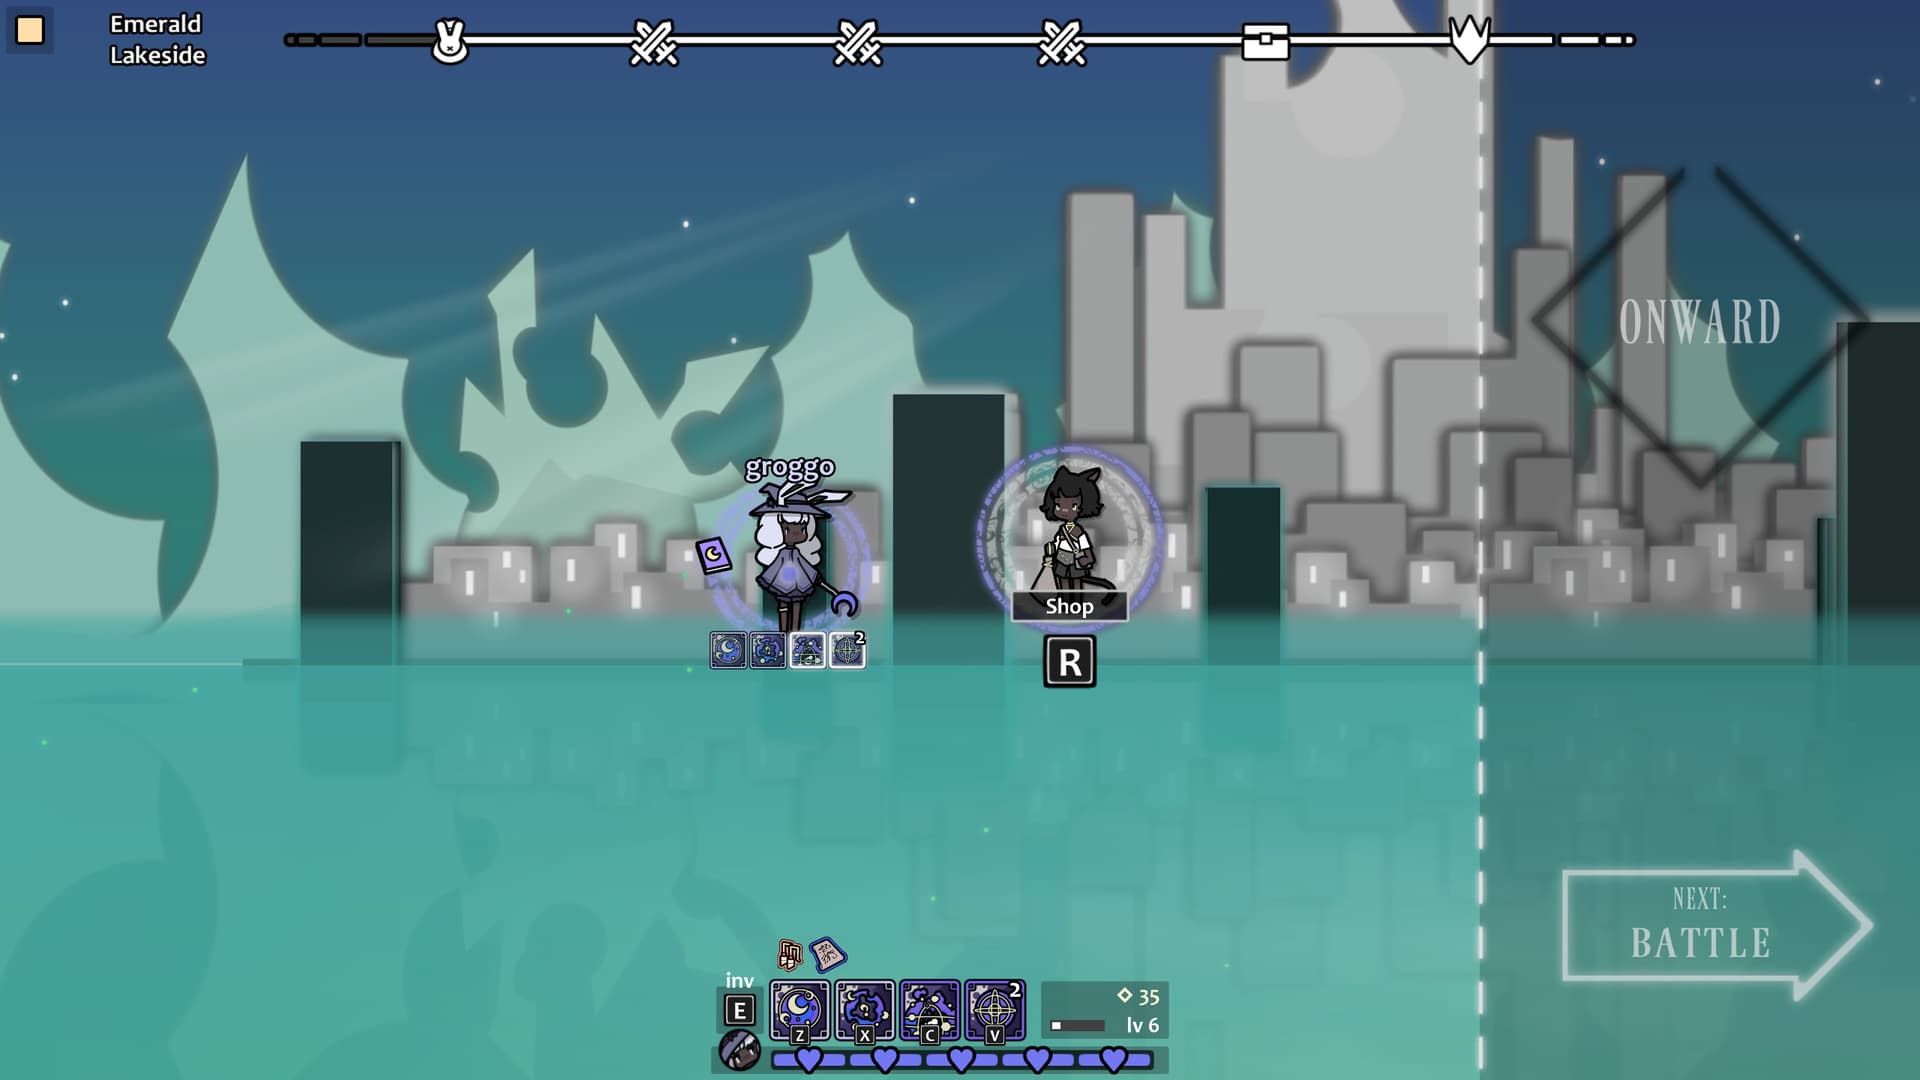
The very first thing I did in this level was create the background environment. I wanted to challenge myself to make it look as accurate as possible, and I think I did a pretty good job with it! Not all of the background elements are there, but I made sure to include the small details like the glowing particles rising from the lake and the soft beams of light being shone down from the moon.
This took a while to get just right, but after a few days I started working on the rest of the animations and UI elements in the intro. The loading screen, difficulty indicator, and “onward” stuff on the right side was very carefully recreated using my own screenshots and footage from playing Rabbit & Steel. I compared my screenshots with the editor preview constantly when modeling all of these tiny things. Lots of care went in to making the UI match perfectly!
Side note: Originally, the loading screen didn’t have any tips! These were added much later near the end because I thought it would be pretty fun. The tip you get is randomized so if you ever replay it in the future, I’m sure you’ll keep finding new ones! A lot of these tips aren’t really tips, but instead obscure references and silly jokes I’ve had with friends. Maybe there’s even a secret tip you’ll never see…
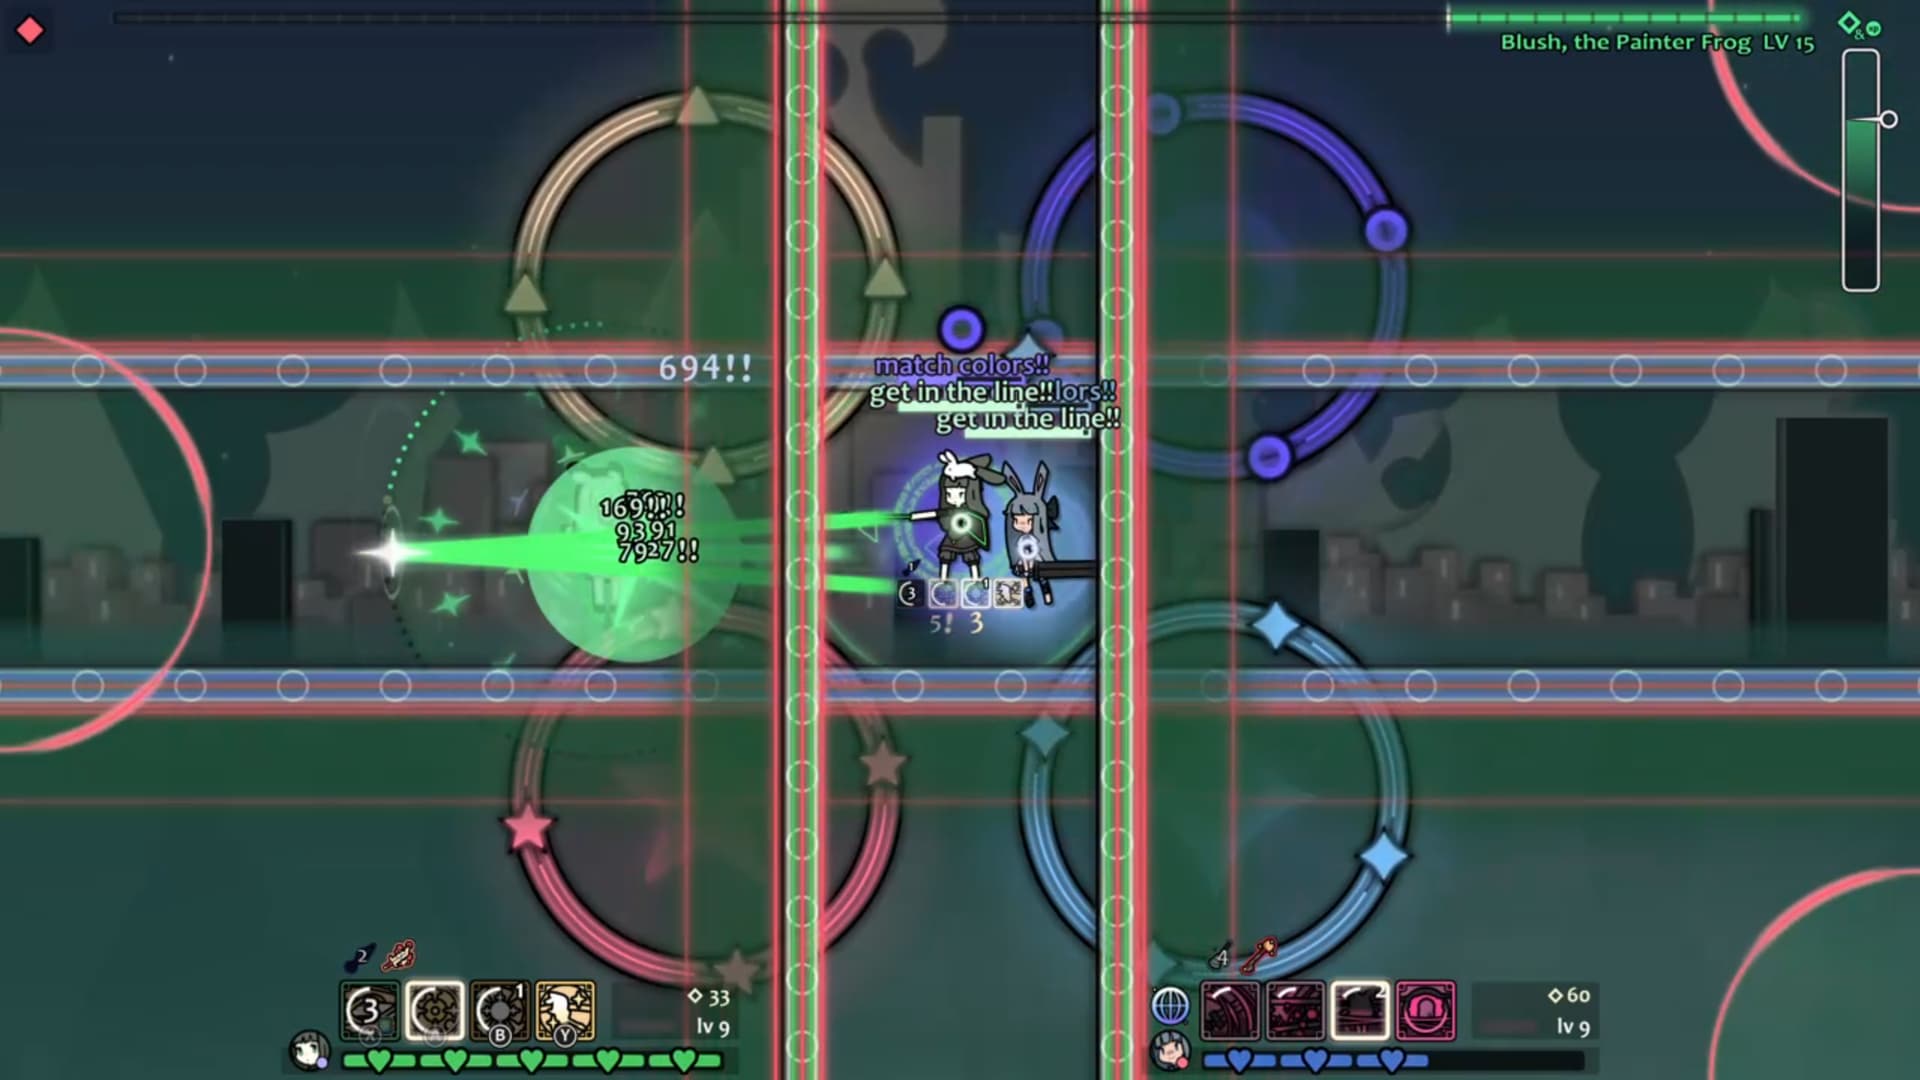
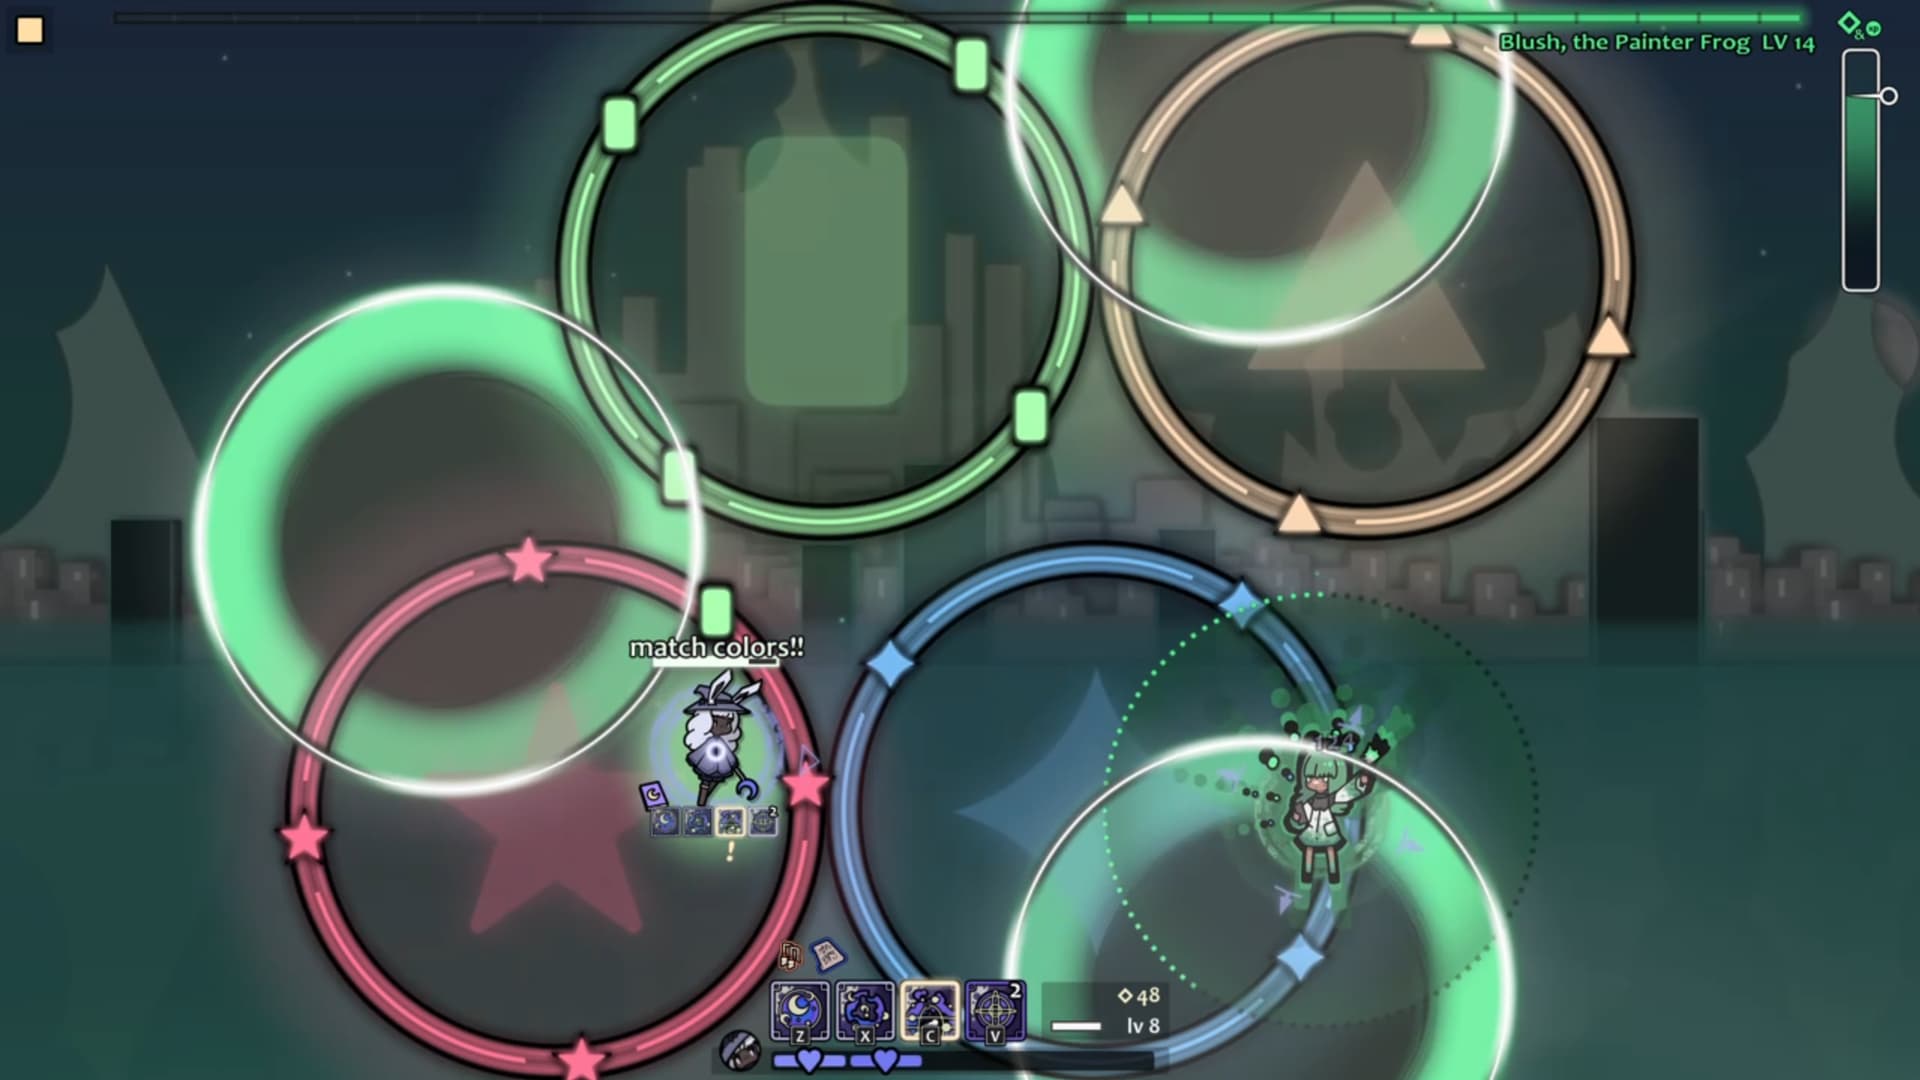
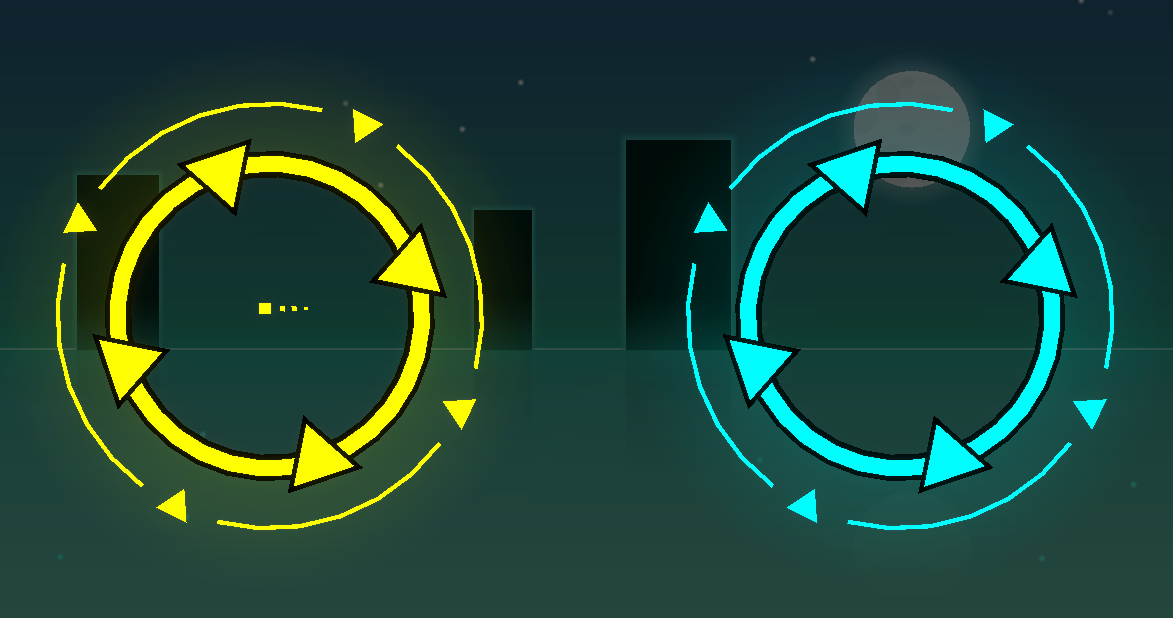
The next “phase” I guess you could call it, was creating all the attacks and gimmicks. This portion felt like the hardest part of the level to make. So uh, oh my god the restricted color palette was extremely difficult to work around. Lots of experimenting happened with blending multiple transparent objects to create more than the standard 9 colors provided in the theme. I ended up going with a CMYK method which mixes cyan, magenta, and yellow, to make a bunch more colors. Once I got that whole thing settled, I was able to make the attacks like “get in the circle” and “match colors” look right.

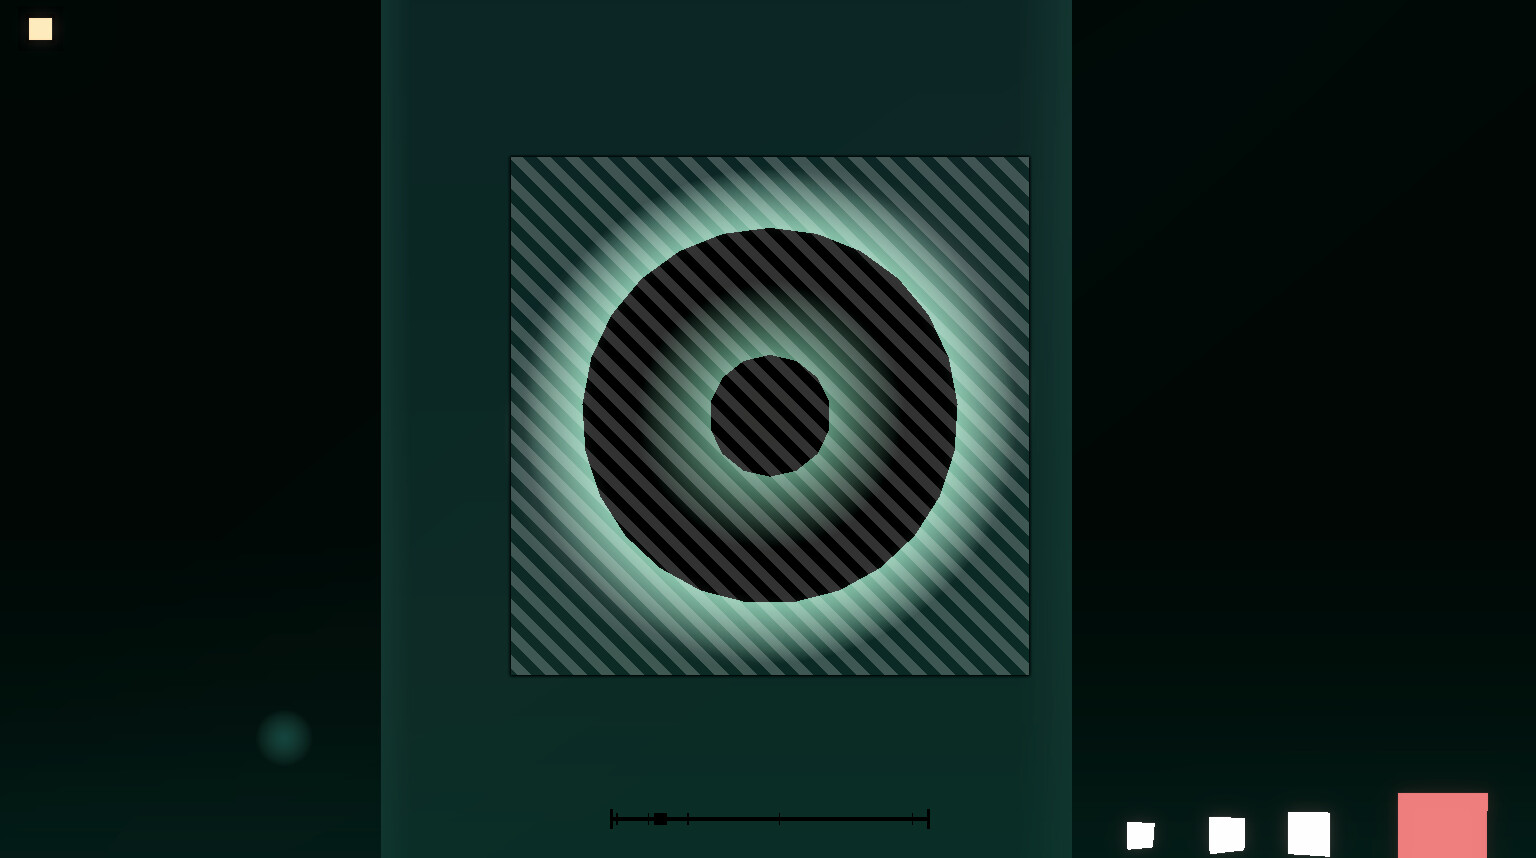
This is when I ran into my second big problem, lag. So you may have noticed that Project Arrhythmia REALLY doesn’t like rendering circles, because they are actually just 32-sided polygons. Too many polygons at once, game lags. With so many bullets active, I had to get really creative with the way I optimize these models so the frame rate wasn’t always low. One trick I used involves custom shapes. These allow you to specify how many sides the object has, so the small circular bullets are actually composed of 25-sided & 14-sided polygons! They’re small enough I’m sure you didn’t even bat an eye at their slightly noticeable sharp edges. This slightly lower poly count was just enough to keep the frame rate from dipping too much.
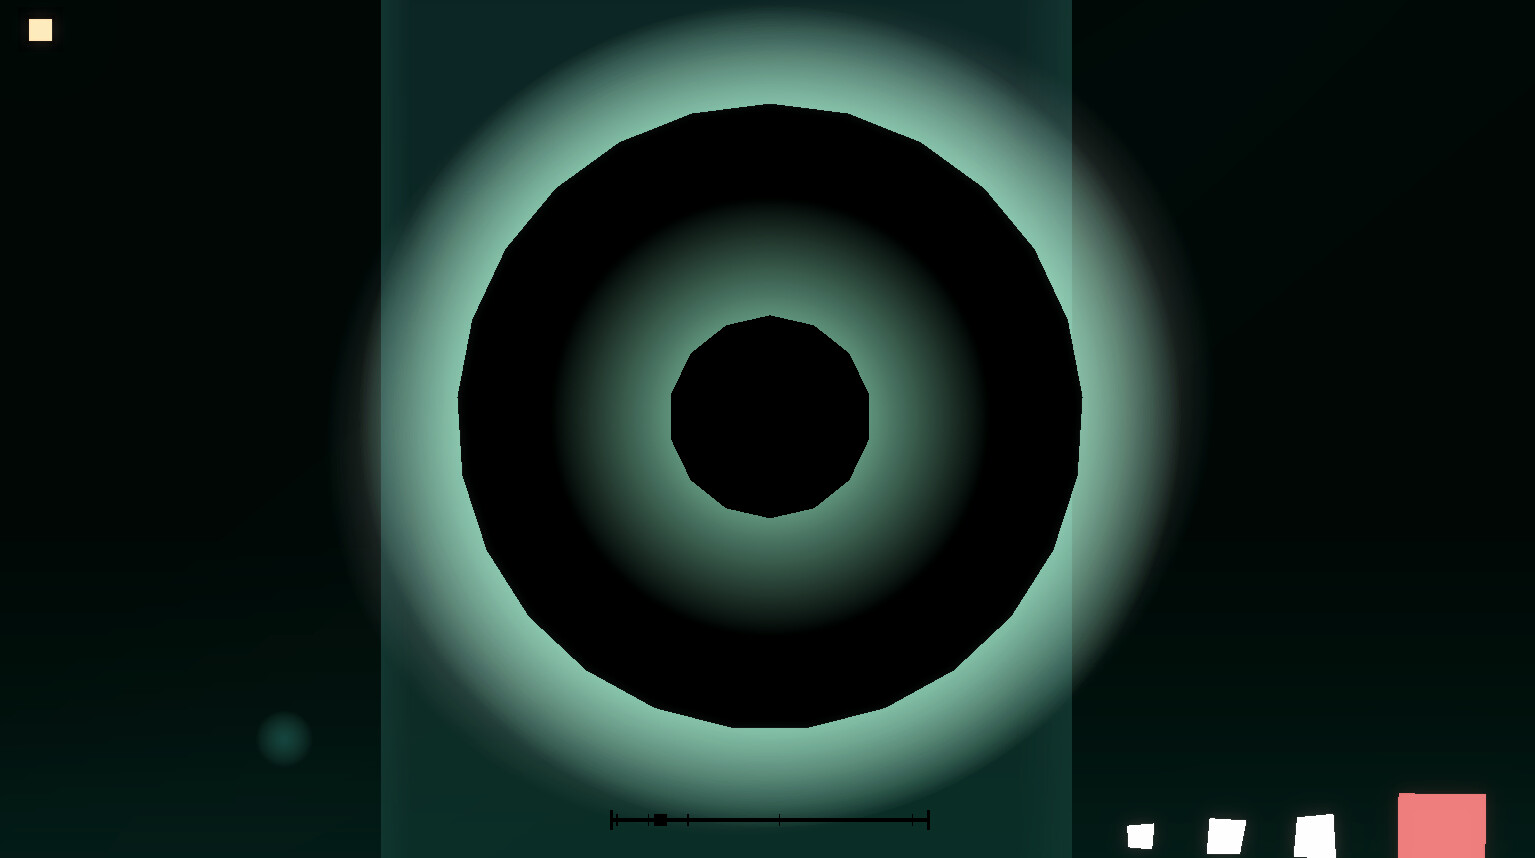
Another reason these look so “round” is because of the circular gradients stacked around the actual solid part of the bullet. These circular gradients are actually just squares! When given the circular gradient pattern, they look perfectly identical to an actual circle object.
Once all the assets were done, I created a copy of the level to use as a template to copy-paste the objects from. I played some more Rabbit & Steel to get reference footage and then I began constructing the attack patterns using all of the assets I had created! This phase was definitely the most straight forward… but also really time consuming.
In case you didn’t know, the only attribute you can’t parent in the editor is color. Now, I am using a lot of objects that fade in and out using opacity… which is tied to color… I think you can see where this is going.
EVERY time a color ring activates sooner or later than my template model, I needed to manually change the coloration and kill times for every object that composes that ring. Usually I would need to do this 4 times (once for each color) and uh… yeah this became exhausting very quick. But! I think I only lost some of my sanity, and we got a sick level out of it, so I consider this a win.
Right before the area boss, Asha stops by to say hi! She almost didn’t make it in, but I felt like I just had to include her somehow. The dialogue was animated using Void’s typetext tool. I just enter the dialogue into the generator and it gives me a neat little prefab I can use in the level. Thanks Void!
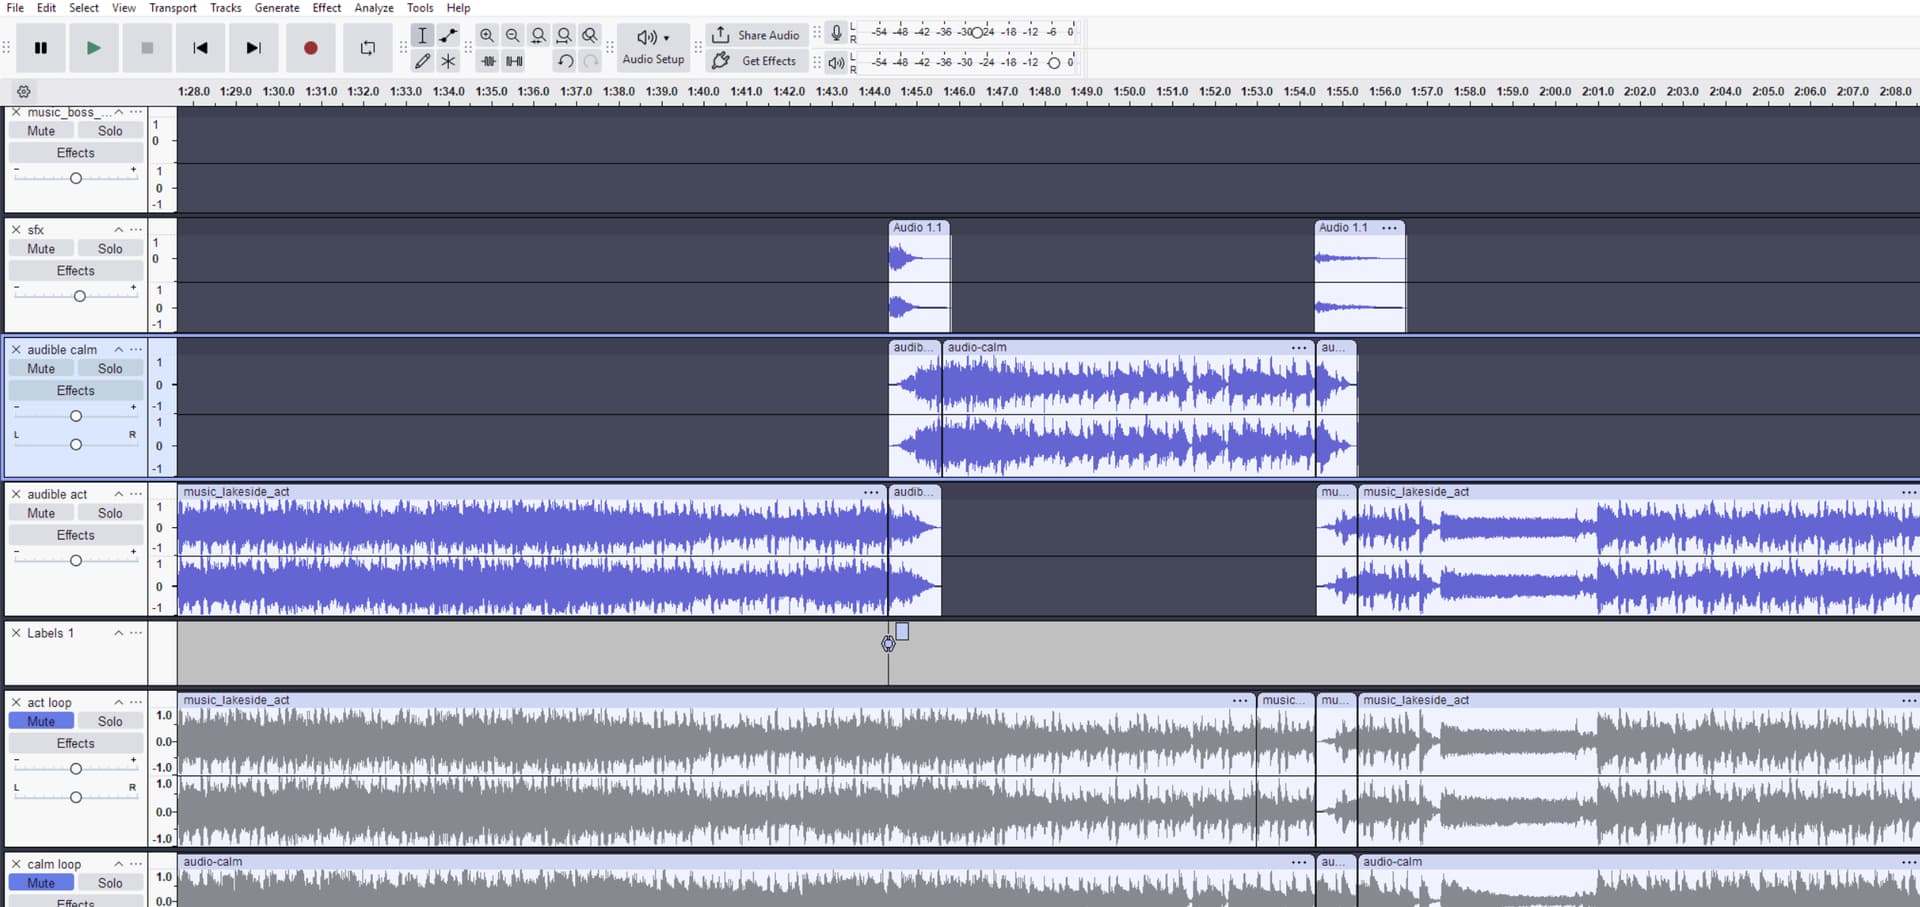
The rest of the attack patterns were put together and I was finally on to the last phase, the audio mixing. This song has a “calm” and an “action” version that change dynamically depending if you are in a battle or not. I cross-faded the two tracks together during transitions to make it sound just like it does in Rabbit & Steel! I also opened Rabbit & Steel with the music turned to 0 so I could record some sound effects myself. The song used for the area boss was also added in there to be more faithful to the original game. Toss them all in audacity, refer to the level to find the right timings, then export it into the level folder and use it as the new audio file!
I also whipped up a fancy end screen similar to the one in Rabbit & Steel!
Cut Content
There’s a lot to talk about here! Firstly, a few attacks were fully animated and ready to go, but they were never used in the final level. Most notably the “cleaving one side!!” and “get in the line!!” went unused:
In the process of creating all the attacks for the level, I kinda forgot these attacks don’t even appear in the normal mode version of Emerald Lakeside… oops. I thought about using them anyways to make some unique new attack patterns, but I was kinda lazy and decided not to.
The initial plan was to make 2 levels. One for normal mode and another for hard mode. However, this level took waaaay longer to make than I thought it would, so I think I’m gonna save that for another day. Maybe. It’s not completely off the table but definitely not happening any time soon lol
There were also a few debuffs and effects that I considered, but ultimately dropped due to Project Arrhythmia’s limitations. Effects like “Y-Bind” and “Knockback” were simple enough, however other debuffs like “Tethered” simply weren’t possible. This one would have been really cool to tether the player to a moving object or something, but oh well.
Initially, the background was going to include a parallax scrolling effect similar to Rabbit & Steel. In between battles, the background elements would scroll and shift to the left, but this was eventually cut because… honestly speaking, it was such a headache. The lake has so many gradients and transparent objects layered on top of each other, I was having a hard time figuring out how to prevent the reflections from overlapping without having to completely rethink how I made the lake…
Not to mention the particles coming from the lake also needed to be scrolling by rapidly during these transitions, so I would need to manually place a LOT of them off to the side for every battle transition. Could all of these issues have been solved by redesigning the way I made some of these props? Yeah, definitely, but I’m perfectly content with the way it looks now, so I figured to just save myself from the tedium and move on.
Not much to say about these, so here’s a bunch of little things that went unused:
The “onwards” text used to be intended for a 4 player party!
The color rings used to have a bit more detail, but this was changed due to frame rate concerns:
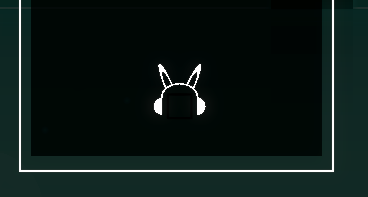
The icon for steel plus on the end screen used to be a pair of headphones with bunny ears! (Don’t ask how the rabbits would fit headphones onto their ears)
Before I asked quu to make the thumbnail art, I used my own amazing artwork as a placeholder. Truly beautiful…

Pidge has also hinted that homing objects will be possible sometime in the future. This means a multiplayer version is possible! Maybe one day I’ll make a multiplayer version meant for 2 players who need to cooperate or something.
Closing Thoughts
Rabbit & Steel is a really special game to me, and I’m so glad I was able to make this huge level a reality. This was by far the most difficult level I’ve had to make, so I really hope you enjoy it! This is also my first time making a big ol forum post like this, so I hope it was insightful!
Special Thanks
quuqirjain - Thanks for the thumbnail art!
TheVoidUnknown - Thanks for the typetext generator!
YeetusMcCleetus - Thanks for verifying Kitsui Akira so I could use the vocal version of the song!
all my besties - You know who you are. Thanks for all the kind words and encouragement, it seriously means a lot to me and it helps me keep going on these silly rhythm game projects ![]()
Thank you for reading!